 Skip to content
 The installation process for optic box varies depending on the specific type (e.g., fiber terminal box, enclosure fiber, or fiber joint box). The following are general installation steps and precautions:
Pre-Installation Preparation
Materials and Tools
- Confirm that the requirements of optic box and prepare tools such as optical fiber, pigtails, a fusion splicer, fiber cleaver, and cable strippers.
- Inspect the materials and verify that the tools are functioning properly (e.g., fusion splicer parameter settings).
Field Survey
- Select a dry, well-ventilated location away from strong electromagnetic interference, ensuring easy access for operation and maintenance.
- Wall-mounted installations require pre-installed expansion bolts, while cabinet-mounted installations require aligned mounting holes.
Installation Steps
1. Fix the Optic Box
- Wall-mounted: Fix to the wall with screws, ensuring no movement.
- Cabinet-mounted: Fix through the cabinet holes.
- Aerial-mounted: Fix the optic box with overhead wires with hooks.
- Pole mounted: Fix the box with round stainless steel straps.
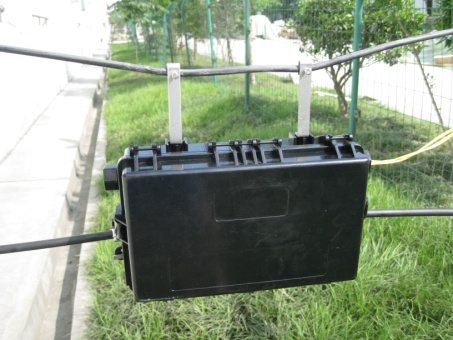
Aerial Mounting With Metal Hooks
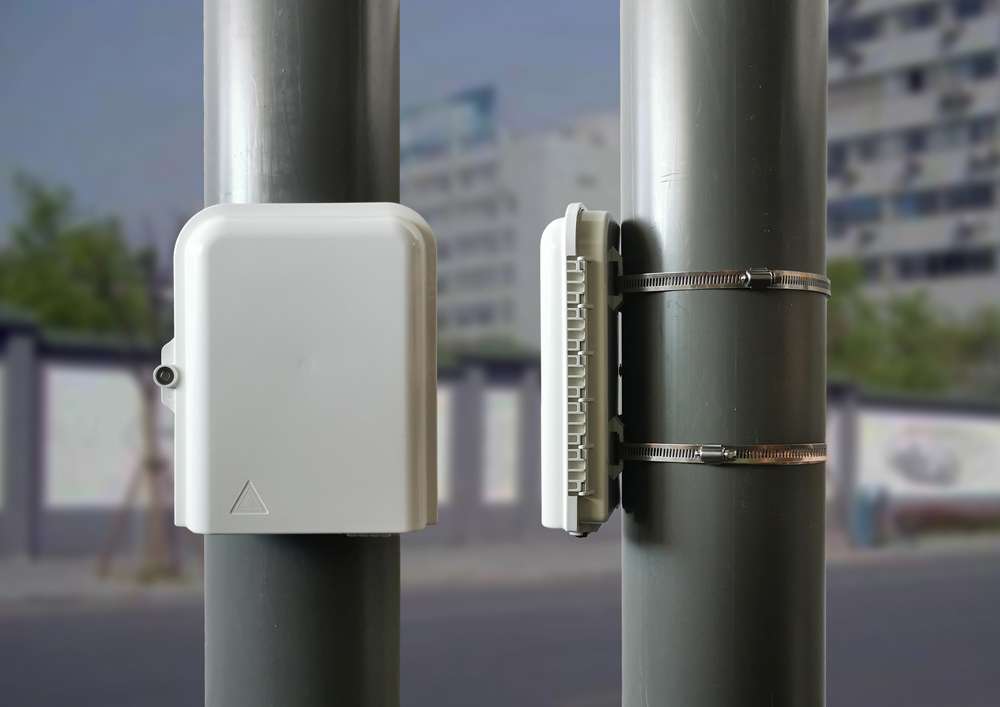
Pole Mounting With Straps
Wall Mounting With Screws
2. Bring fiber into the optic box and management
Bring the fiber through the cable entrance, avoiding excessive stretching or twisting. Outdoor fiber requires a waterproof seal (e.g., sealant).
Clean the fiber surface (using an alcohol swab), remove the outer sheath (30-50cm of bare fiber), and ensure the cut end faces are flat and vertical.
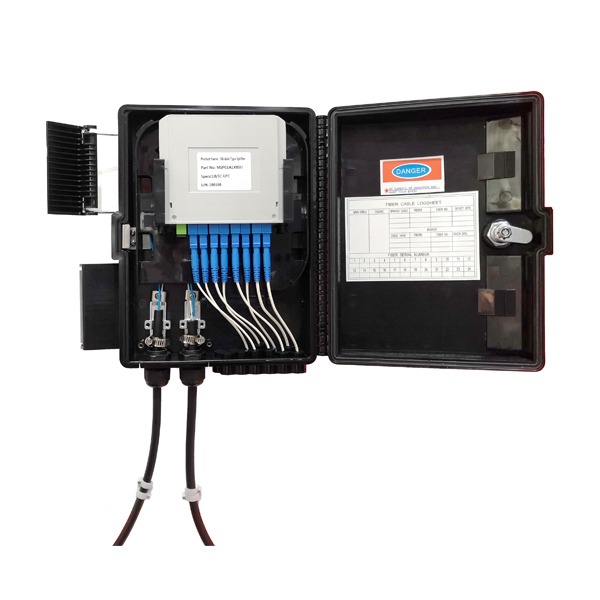
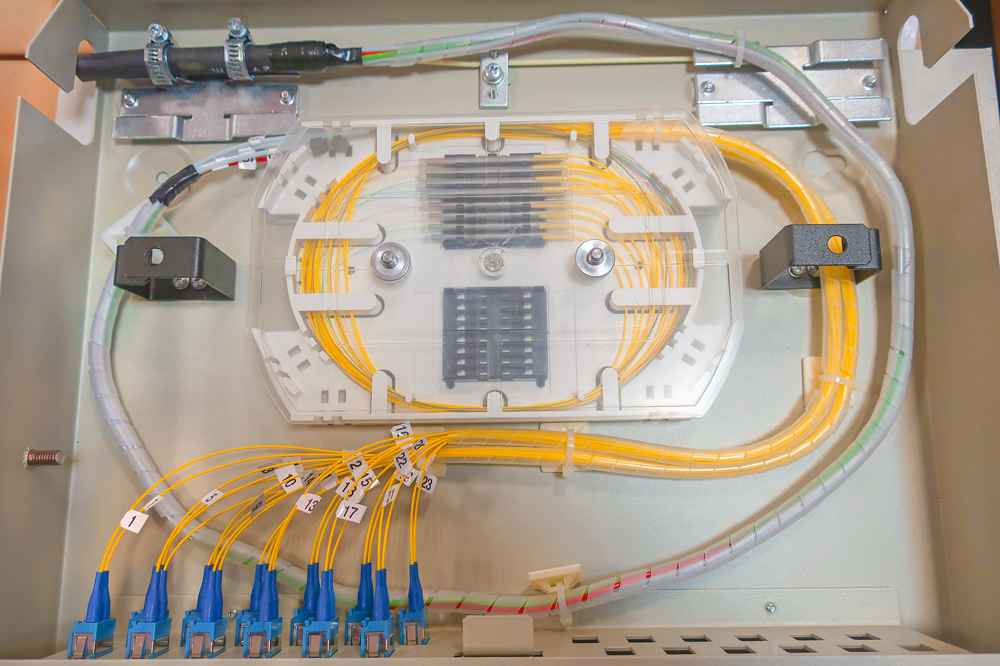
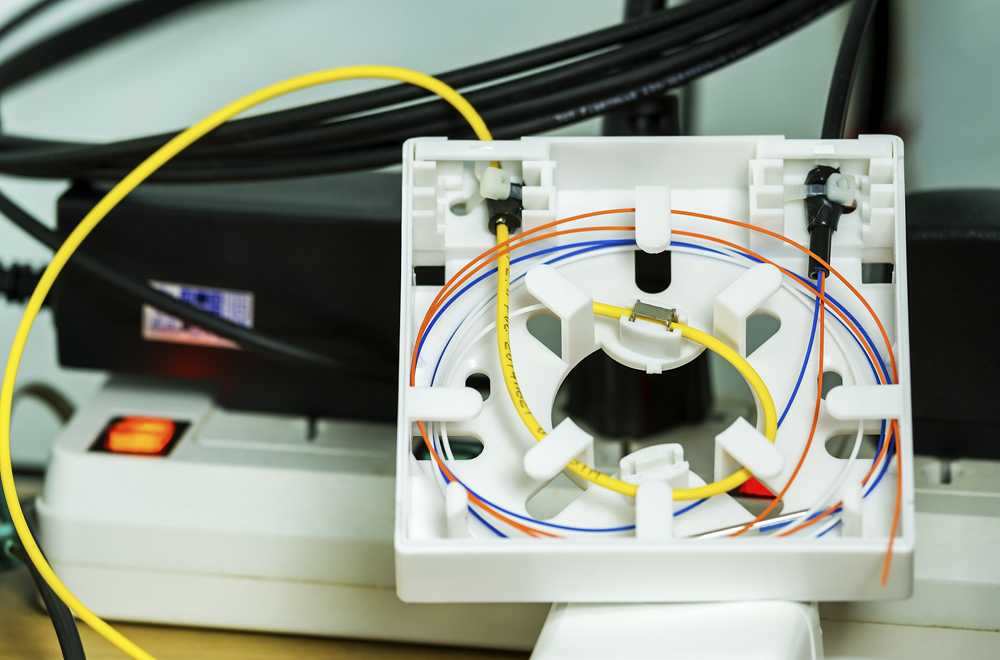
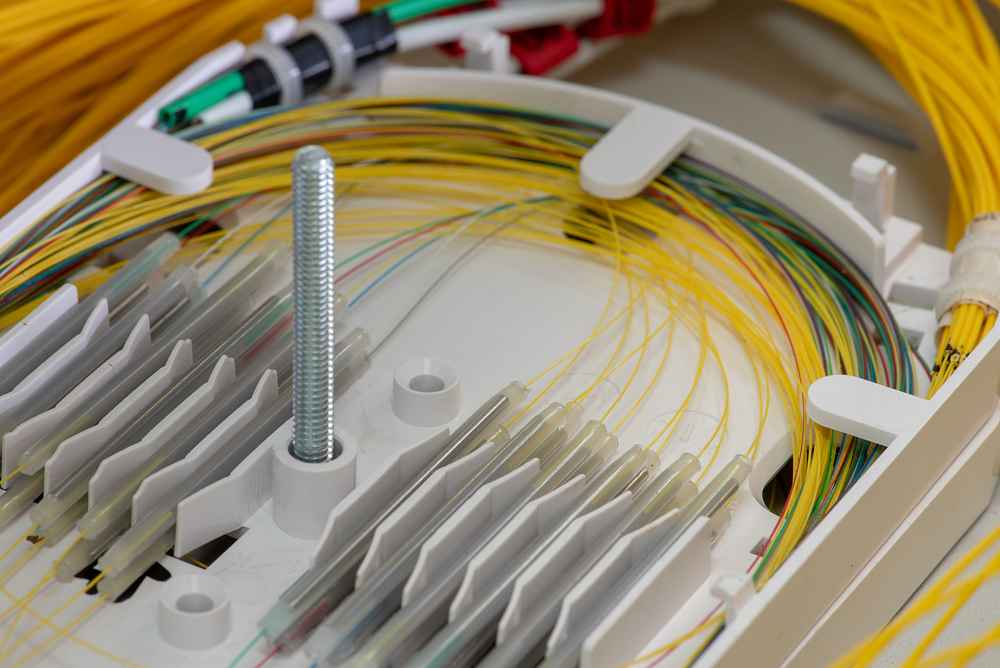
3. Splicing and Protection
Use a fusion splicer to splice the fibers. The loss should be <0.05dB for single-mode fiber and <0.1dB for multimode fiber.
Place the splice point in the splice tray and secure with hot melt adhesive or a protective sleeve. When coiling the fiber, ensure the bend radius meets the standard (≥15mm for single-mode).
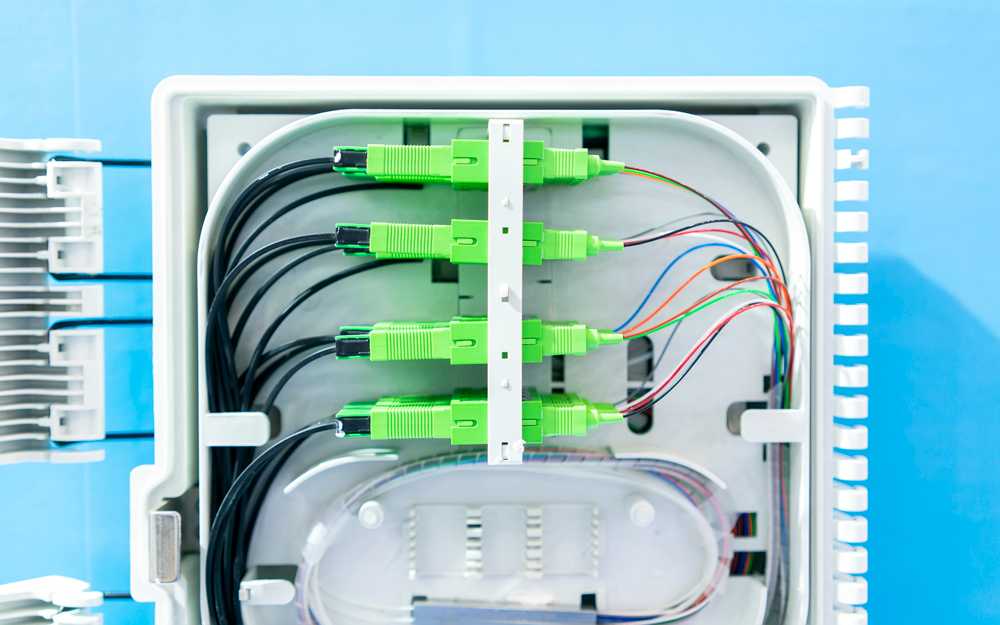
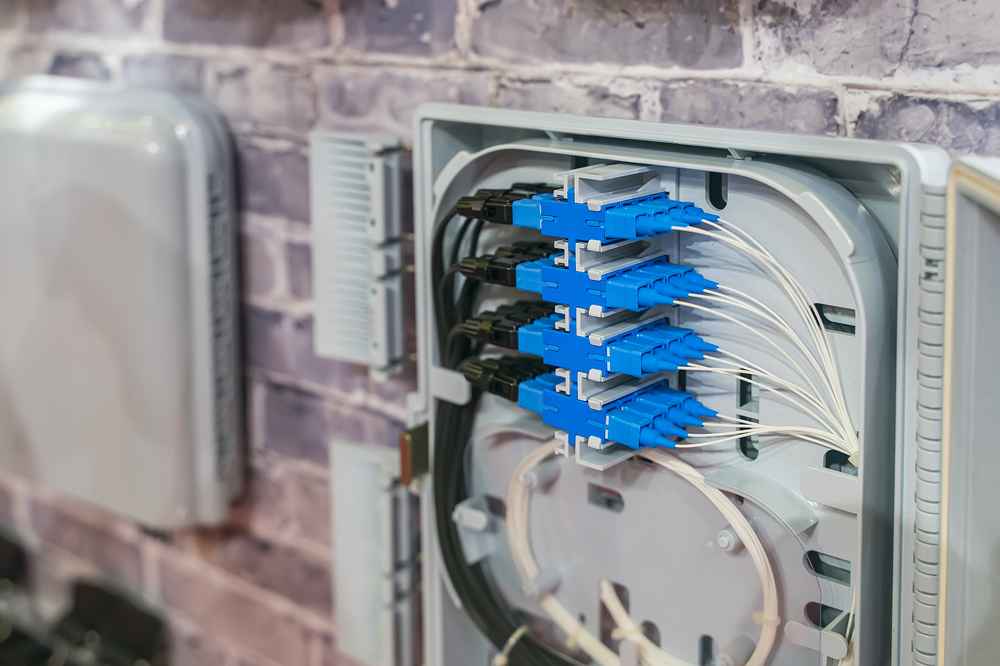
4. Pigtail Connection
Connect the optical module or device with fiber pigtails. Ensure correct insertion and removal orientation and avoid rough handling.

5. Cover and Finishing
Close the box with cover, check the seals of all connectors, and clean the tools on site.
Precautions
- Dust Prevention and Cleaning: Clean the fiber endface before operation and install dust caps when not in use.
- Electrostatic Discharge Protection: Wear anti-static gloves and ensure the equipment is grounded.
- Compatibility Verification: Confirm optical module compatibility for devices from different brands.
Additional Information
Different scenarios (such as FTTH and data centers) may require adjustments to specific details. We recommend referring to the manufacturer’s manual or professional guidance.