Skip to content
 When inspecting bare fibers, fiber spool, and checking splice points of fiber optic patch cord cable, Yingda recommends using a red light pen (also called visual fault locator, VFL) to perform connectivity tests and quickly locate fault points. This method is widely used in telecommunications and fiber optic cabling projects to quickly locate faults and troubleshoot.
The following are the detailed steps and precautions:
Fiber optic patch cord cable test preparing
Turn on the red light pen and insert batteries (pay attention to the positive and negative polarity), ensuring that the device is emitting red light properly.
Note:Not configure 2XAA batteries along with the goods please buy local, it is standard.
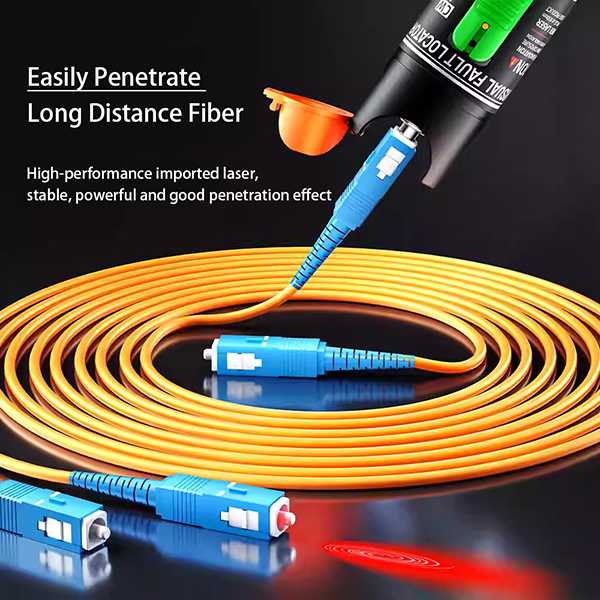
Connecting the fiber optic patch cord cable and emitting red light:
After cleaning the fiber patch cable endface, insert one end into the red light pen connector (such as LC or SC) to ensure a secure connection. Expose the other end in a dark place for observation.
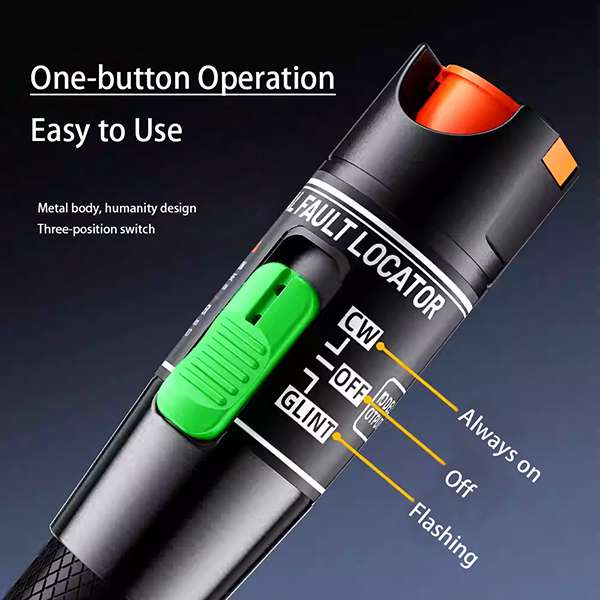
Turn on the red light pen’s constant light mode (slide the switch upward) and inspect the optical fiber for red light.
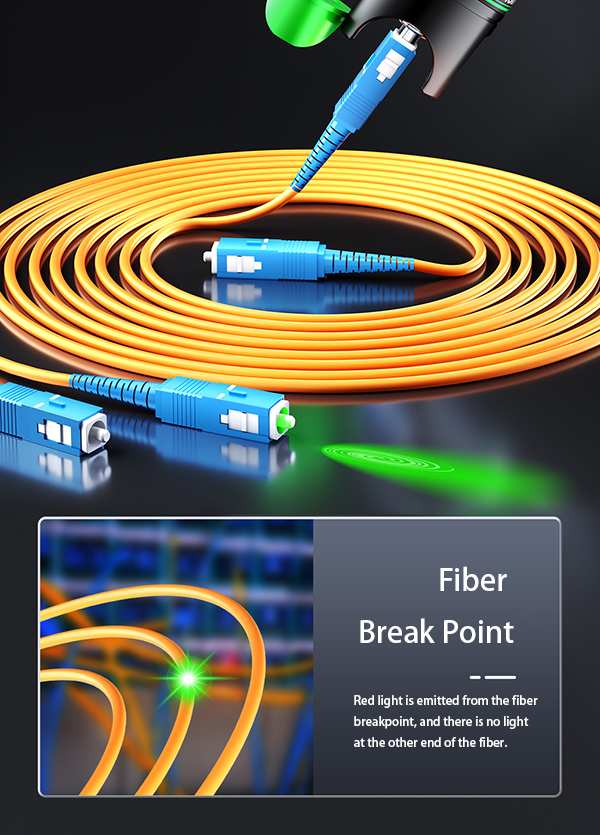
- A clear red light indicates acceptable continuity.
- A leaky or missing red light indicates a break, excessive bend, or a faulty splice.
Verification and Troubleshooting
- If the red light is continuous throughout, the patch cord is intact.
- If it glows at a specific point, check the bend radius or re-splice.
Note:
- The red light pen is only suitable for short distances (≤10 km). In bright sunlight, the flashing mode (press the switch downward) can be used to assist with positioning. If longer or complicated fiber link, suggest to use OTDR
- When using the VFL, avoid looking directly at the laser port and keep away from flammable materials.
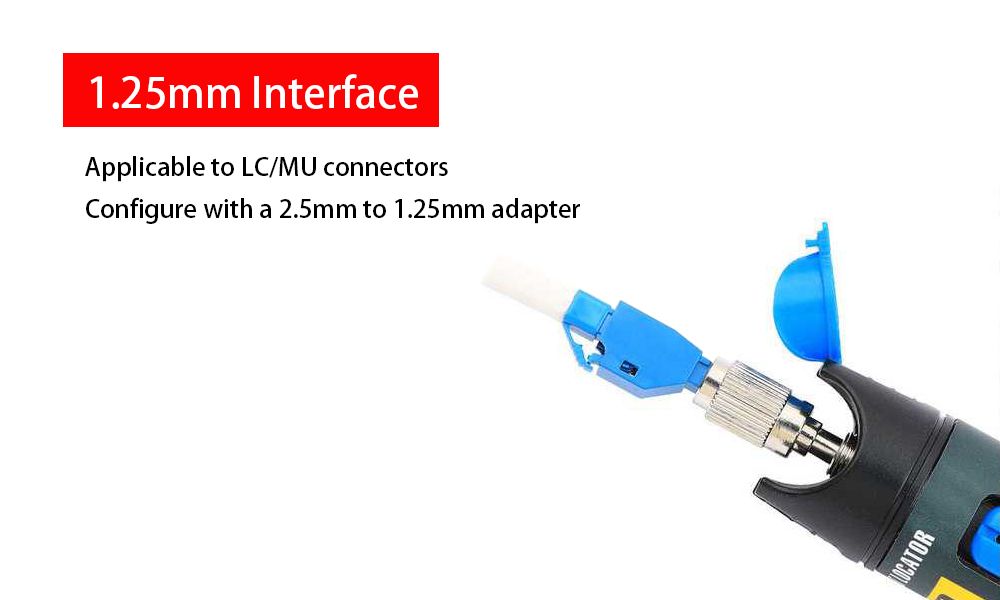
- The standard red light pen interface is 2.5mm ceramic ferrule and is compatible with male SC, ST, and FC connectors. For LC or MU connectors using 1.25mm ceramic ferrules, a 2.5mm to 1.25mm hybrid adapter is required for proper operation.